#QueenOfCrafts: DIY Earphone Case
March 16, 2017
If you’re anything like me, you’re either struggling to find an extra pair of earphones in one of your many bags or you’re spending your time trying to untangle the earphones that you’re desperate to use. And let’s face it… that’s a no go when you’re riding transit and just want to zone out. After a little research, and a lot of surprise, I found a ton of DIY options out there if you’re looking to keep your earphones untangled and readily available!
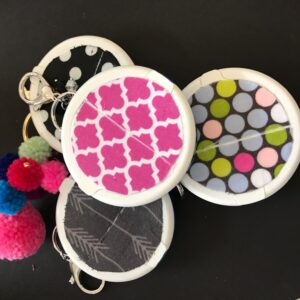
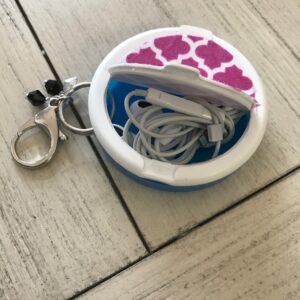
So I tried my hand at making a custom earphone case and I love the final product. I chose this option because you can customize it to match your personality – and I clearly like a little pizazz! You can choose any color, fabric or accessory to personalize this quick and easy DIY gem.
This earphone case was fairly simple to make and I found all of the supplies that I needed at home (Have I mentioned that I’m addicted to crafts?). I literally watched the video once and went to work as the #QueenofCrafts. If you need to purchase supplies and are looking for a discount, take the A-train to the Downtown Denton Transit Center (DDTC) and opt for a quick walk over to Scrap Denton where they have a ton of craft supplies for pennies on the dollar! To say I’m obsessed is an understatement.
Here’s what you’ll need:
- Round mint or gum case (I used Breath Savers)
- Goo Gone or rubbing alcohol
- Small swatch of fabric (or paper – I honestly think paper would have been easier)
- Metal key ring
- Carabiner or closed hook
- Modge podge
- Sponge brush or paint brush
- Sand paper (I added this supply)
- Drill with a small drill bit (large enough for the metal key ring to slide through)
- Any specialty accessories you want to add to your finished product
Here’s the original video that I used to create my one-of-a-kind earphone cases. But you can also check out my step-by-step instructions and photos below.
Step 1:
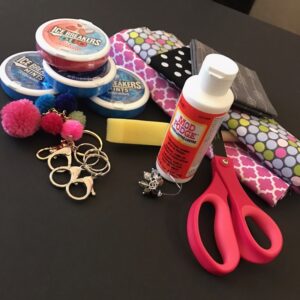
Assemble your supplies. Like I said, I happened to have these things around my house because I’m totally into crafting. But you can find similar items at any craft store.
Step 2:
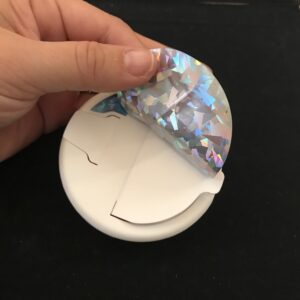
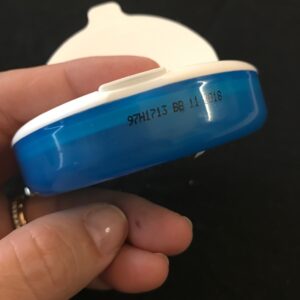
Prepare your plastic cases. Take the labels off of both sides and sand the top of the case where you’re going to Modge Podge your fabric. I opted to sand the cases because the plastic was super smooth and I didn’t know how well the fabric would adhere to that surface. I also was able to scratch off the expiration date on the side of the case.
Step 3:
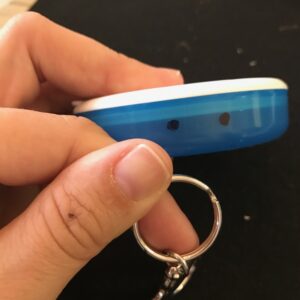
Mark your holes and get to work with a drill. I laid the metal ring on the side of the plastic case and marked where my holes were going to go. I made the holes in line with the widest width of the metal ring to ensure that it was easy when it came to threading the metal ring through the plastic.
Step 4:
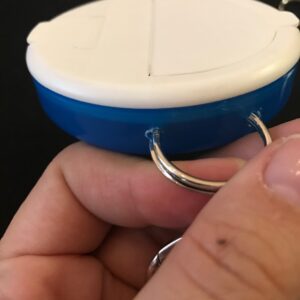
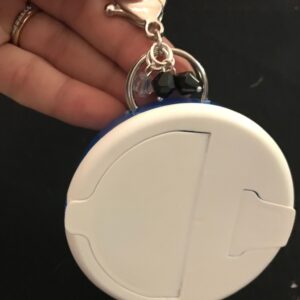
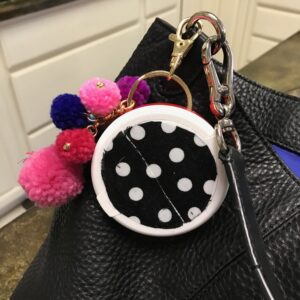
Thread the metal ring through the holes that you just drilled. This is the trickiest part of the process. Don’t be afraid to open up the ring a bit to make it easier to thread it through. Once it’s through, make sure that the open portions of the metal ring are tucked into the holes and that will reduce any major gaps in the ring. You can leave your ring and clasp as is, or you can add a personal touch with beads, pom poms or a pendant.
Step 5:
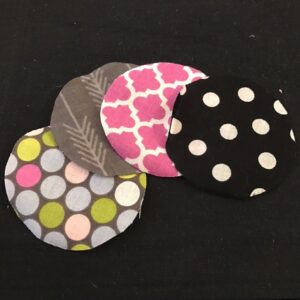
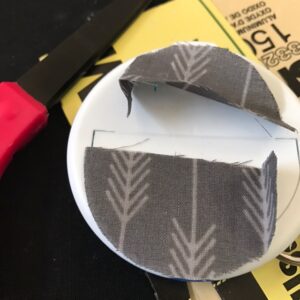
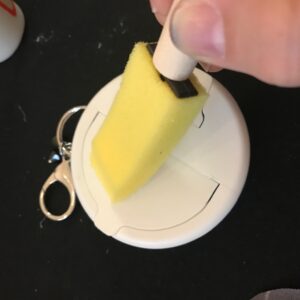
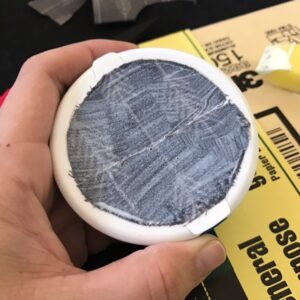
Trace, cut and adhere your fabric. I cut my fabric down the middle where the bend in the lid is so that opening and closing the container wouldn’t eventually lift up the fabric. I absolutely love working with fabric, but I really think that using scrapbook paper would have worked even better. I found that the fraying edges of the fabric were kind of difficult to work with. So just know that you have options! When applying the Modge Podge, put a thick layer down on the sanded plastic, tap your fabric down with your finger, let it sit for a minute or two and then put another thick layer of Modge Podge on top. Then let your masterpiece dry for about three hours.
Step 6:
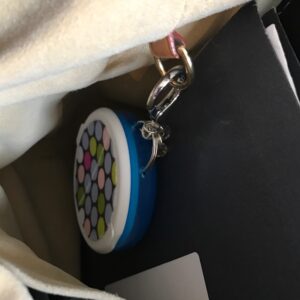
Put your earphones in your new custom case and clip it to your purse, an overnight back, your backpack, or whatever you carry your stuff in.
I can’t wait to clip these to every bag I own. My husband even asked for one to hook to the inside of his backpack! So whether you’re in need of an earphone storage solution or just want something fun to do on a free afternoon, I highly encourage this quick and easy DIY project. All-in-all, it took me about an hour to put together all four cases, so it was a super simple craft. Crafting for the win! #QueenOfCrafts #dctaDIY
What’s your favorite travel accessory? Comment below and I’ll do my best to find a DIY solution that’s both fun and useful!
More Rider Tips

5 Back to School Tips for Students When Riding in the Cold
January 19, 2021
It’s no surprise Texas winters can get pretty rough, especially for students coming back to school. Whether you’re commuting on foot, train or bus, it’s important to be prepared for what Mother Nature may bring. From rain to.

Sign up for Updates
"*" indicates required fields




 Follow us on Twitter